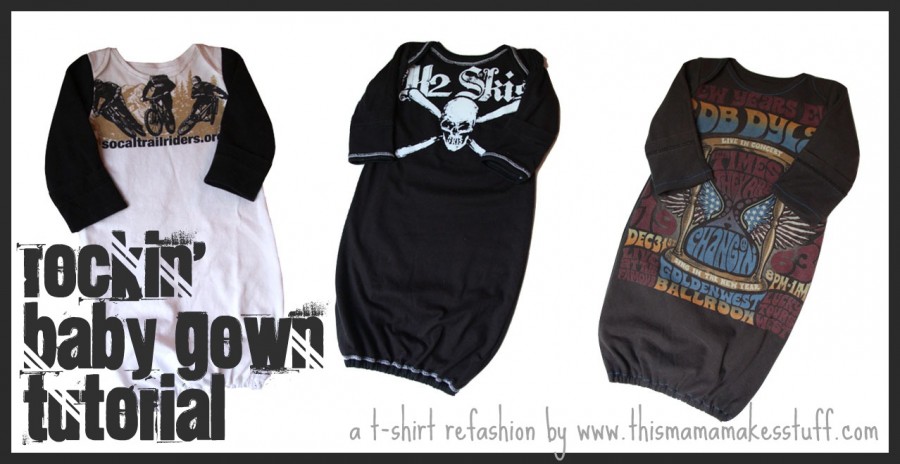
Tutorial: Rockin’ Baby Gown {t-shirt refashion}
Supplies:
Large t-shirt, sewing machine, iron, rib knit (optional)
Follow instructions to put your pattern together & read through the picture tutorial before you start cutting. There is a neck hem variation you might want to try! I would suggest making your first gown out of a shirt that isn’t your favorite. Sewing on knit can be a little tricky and hemming the curved neck edge takes some practice, but you’ll get the hang of it.
Remember, if your favorite shirt is too small to cut out the entire pattern, grab a contrasting shirt to make color blocked sleeves.
Now, you’re ready to sew!!
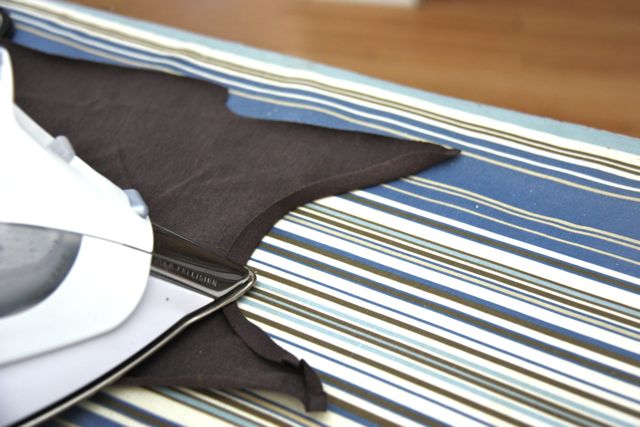 Fold and press neck edge 1/4”on front and back.
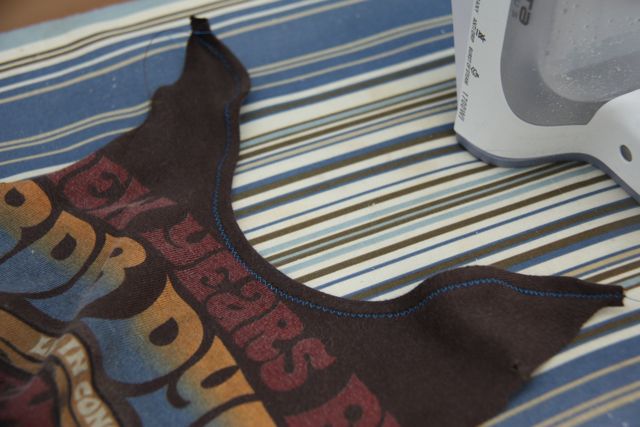 Sew folded neck edge (front and back) with zig-zag stitch. Don’t allow neck edge to stretch too much. Hem will still be a bit wavy (this step is the trickiest and can take some practice). VARIATION: Cut out pattern using the “rib knit finish” lines. Use the neck binding technique used in the “90 minute shirt Tutorial” to hem the neck edge. The contrast overlock stitching looks great (see K2 Skis gown for example).
(Neck Edge Hem Variation using rib knit binding)
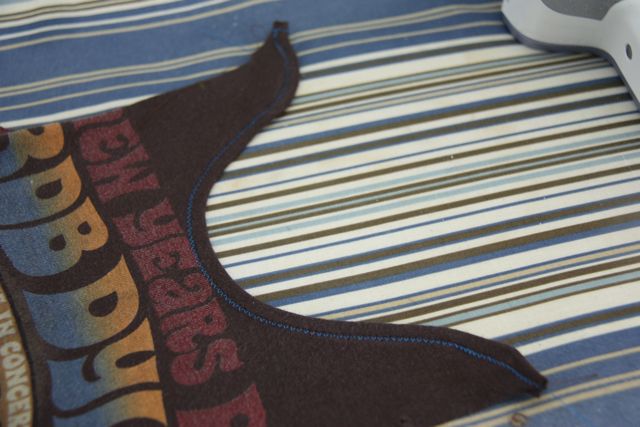 After you have finished the neck edges, press to flatten out any “waves”.
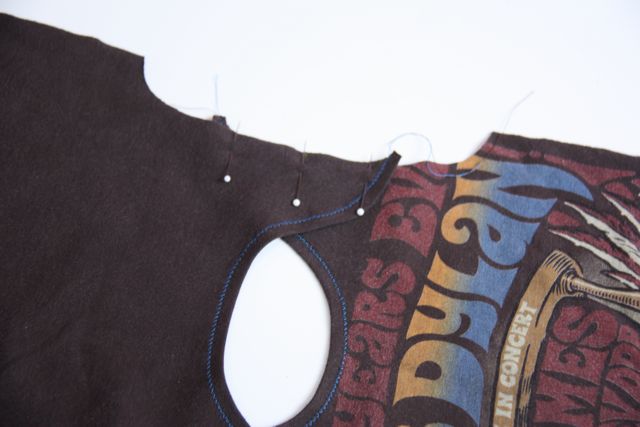 Overlap back over front at shoulders, matching marks. Machine baste to hold in place.
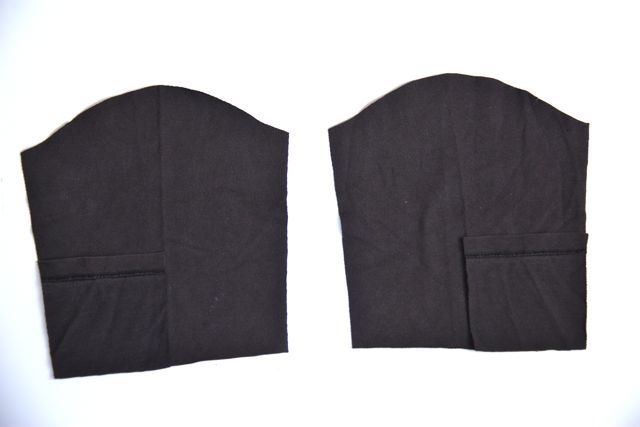 Place the flap pieces on sleeve pieces, right sides together as shown in the picture.
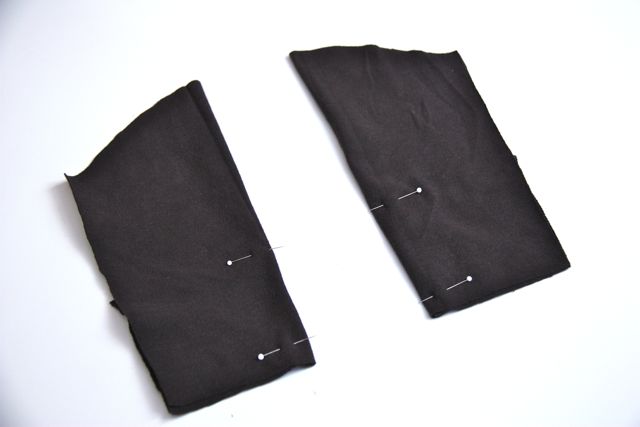 Fold sleeve in half and pin flap now “sandwiched” into sleeve.
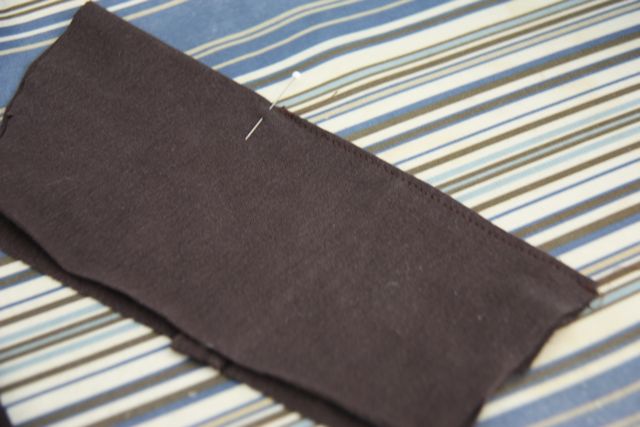 Starting at sleeve edge, sew >1/8″ seam (making sure to catch flap edge inside sleeve) gradually running off folded edge at mark
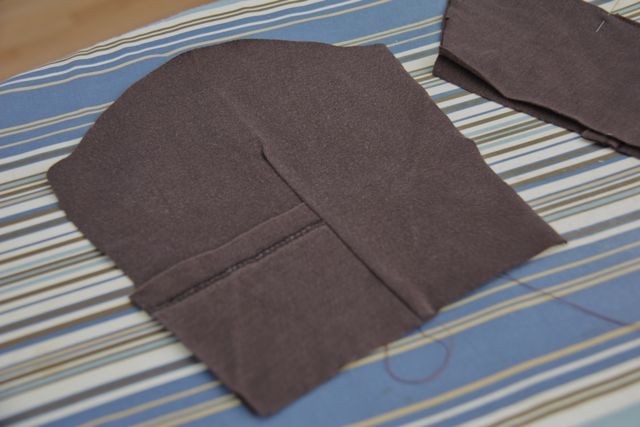 Open sleeves and press flap toward back half of sleeve.
 With right sides together, sew in sleeves.
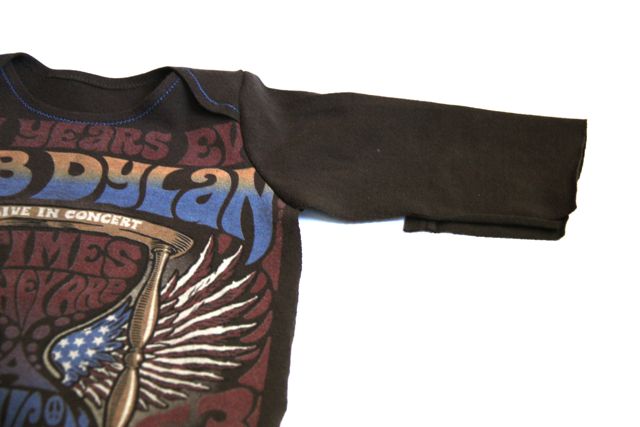 Flap should be facing the back and look inside out when not in use.
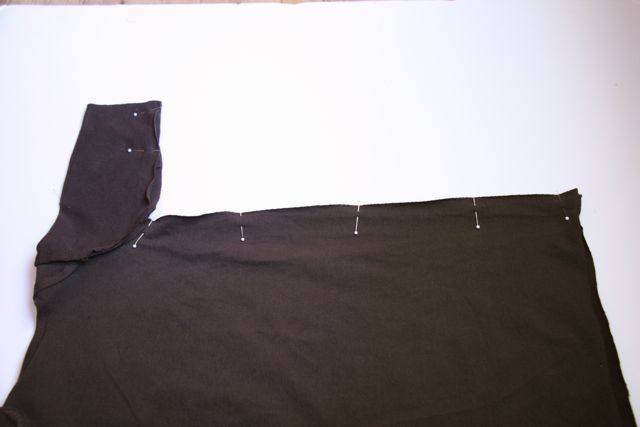 With right sides together, sew side seams from underarm through bottom of gown, making sure flaps are on the back half of the sleeve.
Press 1/2″ hem on sleeves (unless you have cut sleeves using existing hem of shirt).
Sew hem on bottom of gown leaving a 1” open space. Insert 14” piece of soft stretch elastic (from 1/8” wide to 3/8” wide). Sew ends of elastic together and close up hem opening.
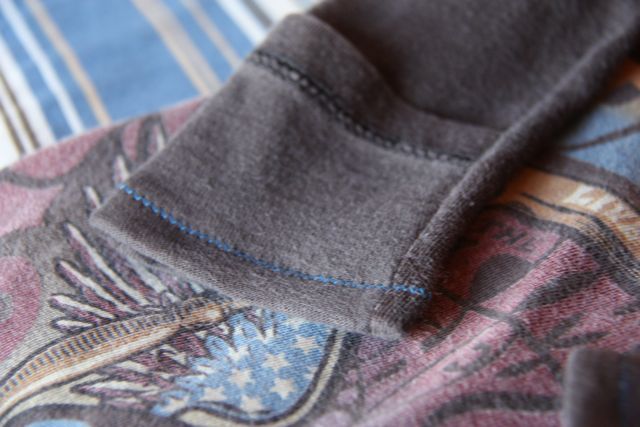 Sew hem into sleeves (flap will be hemmed with the back sleeve)
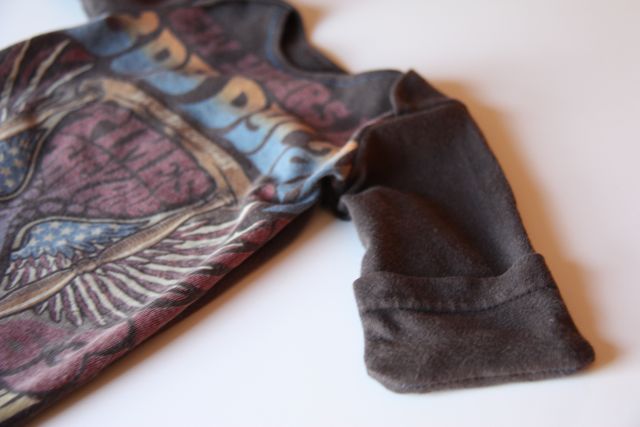 Flip the flap over the front of the sleeve to cover baby’s little hands.
You’re all finished!
This tutorial & the project created is for personal use only & not for commercial use.



{ 7 trackbacks }
{ 40 comments… read them below or add one }
← Previous Comments