Tutorial: Refashioned Slim Slack for Boys
If you are stopping by via MADE “Celebrate the Boy“, welcome!
If you’re interested, you can find more “Boy” posts & projects here.
Refashioned from men’s slacks & using the existing button, zipper & back pockets (all the icky parts of making “real” slacks), these slim slacks are a fun alternative for a little boy’s dressy wardrobe.
Intermediate Level Sewing
Let me know if you have any questions or problems with the tutorial so we can work it out!
I would love it if you shared your “Slim Slack” creations in my Flickr group, “Reduce, Reuse, ReFASHION for Kids”
You are welcome to use my pattern which fits average 2T and a slim 3T with added length. Slim 2T might want to take in leg even more.
Waist: 19″ (stretches to 22″) , Hip: 23″ Inseam: 11″
Use 1/2″ seam allowance unless noted (crotch seam).
Download pdf pattern HERE. (make sure print settings are NOT set to scale).
If your boy is larger than the pattern, find your favorite pants pattern and “slim it down”. Then use the tutorial for the pants refashioning technique!
Step 1: Find your sacrificial trousers.
These are from the thrift store. Before purchasing, take a look at the waistband and make sure the construction allows it to be taken off in one piece. I’ve refashioned a couple pairs of pants with buttons at the waist, but this one happens to have an inside metal hook.
You might want to pick up two pairs. One to practice on so you can tweak the pattern, making it perfect for your little guy (I don’t claim to be an expert pattern maker), and one pair to knock out with your new “perfect” pattern and mad pant refashioning skills.
Step 2: Deconstruct the pant.
Unpick belt loops and detach the waistband. The great thing about men’s dress pants is that they are usually made to be easily taken apart and altered.
P.S. Make sure you keep the zipper down throughout the entire process.
Step 3: Slice up the pants
Once the waistband is removed, cut the pant up through the side seams and the inseams. Leave the pant front crotch seam intact.
Cut through the back pant crotch seam
Step 5: Cut out Slim Slacks
Layout the pant front piece and the pant front pattern. Using existing zipper placement, cut pant matching crotch curve and trying your best to match grain line on pant.
Flip pattern over and cut other front pant leg, still matching crotch seam.
The front pants should look like this, using the existing zipper:
Layout back pant panels. Using existing pocket placement (optional), cut back pants. Cut one piece out of each back pant panel flipping to cut right & left pant legs.
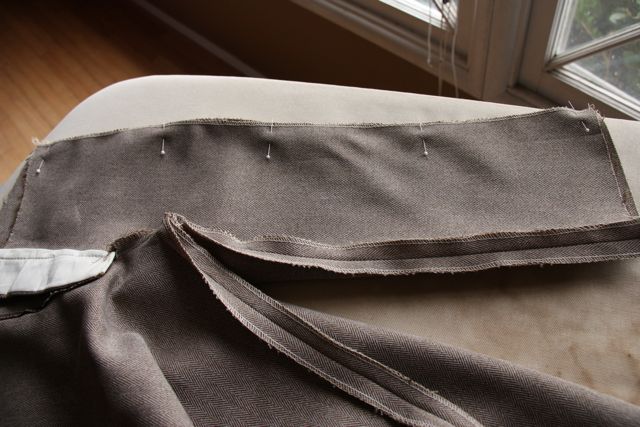
Take pant waistband and cut at side seams. Using the front and back waist guides, cut new front and back waistband.
Step 6: Start Sewing. You should have all these pieces ready:
Edge finish inseams and outseams of your pant panels using either a serger or a zig-zag stitch. Sew crotch seam together on back leg pieces (use 1/4″ seam allowance here – usually matches front crotch seam better).
Sew front and back pant together at inseams and outseams, pressing seams flat.
If you decide to use existing pockets on your pant, you might need to tack down the seams at the side because the bulk sometimes won’t want to lay flat. Just a few stitches in the ditch at the side seam will make all the difference.
Use a basting stitch to reattach beltloops at waist (optional).
Sew new waistband together at side seams.
Pin a 9″ piece of 1″-1 1/4″ elastic (depends on width of waistband) to the inside side seam of waistband. Attach a safety pin to the other end.
Fold up waistband and stitch in the ditch to hold elastic in place at side seam (on one end only).
Pin waistband to pant, enclosing elastic along back waist (although it is not stretched and secured yet).
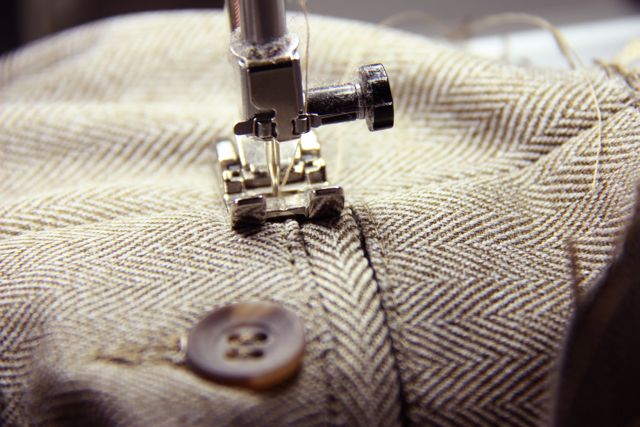
If you have an edgestitch foot, now’s the time to pull it out! Edgestitch around waistband, stopping and starting 1″ before and 1″ after sideseam closest to the end of the elastic that has the safety pin in it.
Now it’s time to thread the elastic the rest of the way through the back waistband. Using the safety pin, guide it towards the waistband side seam. Pin and sew in place. Then, edge stitch the hole closed.
Take a second to tack down the tops of your belt loops.
Edge finish the leg openings, press in hem.
Hand or machine blind-stitch hem.
YOU’RE FINISHED!
Now your boy is ready to be crazy-cool in his slim slacks!


{ 3 trackbacks }
{ 32 comments… read them below or add one }
← Previous Comments